
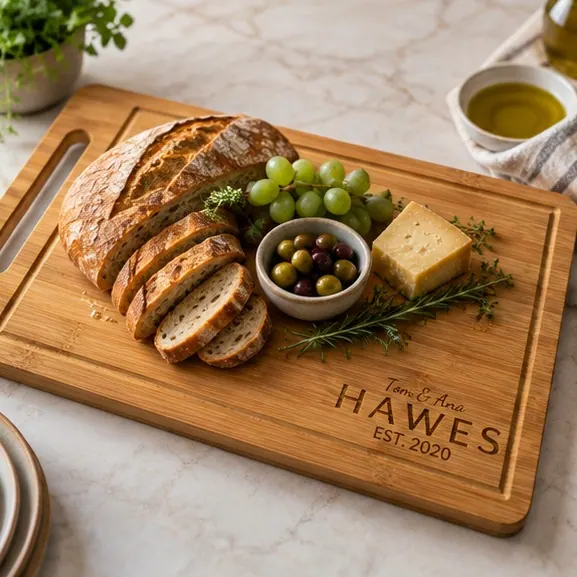
Classic Last Name
First names, last name and an optional EST year in the most versatile layout on the site.
$32.99–$39.99
Home › Guides › How to Care for a Wooden Cutting Board
12 min readHand wash, dry it standing on edge, oil it every month or two, never the dishwasher. Plus the raw meat rules, how to sanitize wood, and fixing a warped board.
A wood board that gets looked after will outlive the occasion it marked. One that does not can cup in a single wash. The difference is about four minutes a month, and almost all of it is one rule: keep water out of it.
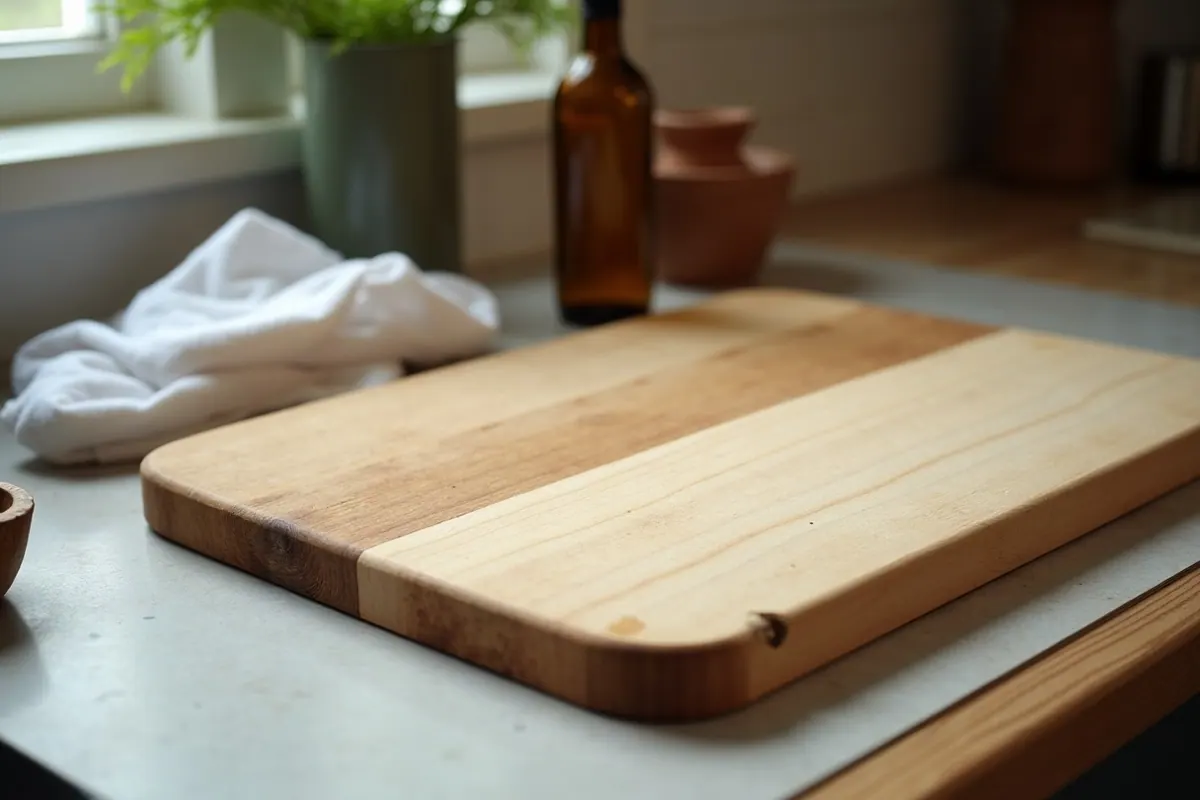
Step five is the one people skip and it is the one that matters. A board left lying down traps moisture underneath: the face against the counter stays wet and swells while the face in the air dries and shrinks. That difference is what cups a board, and it can happen overnight.
This is the question the care guides skip, and it is the one worth getting right.
Separate the jobs. The simplest arrangement is the one most people arrive at anyway: the blank back is for raw prep, the engraved face is for serving and for everything cooked or ready to eat. If you are cooking chicken and making a salad in the same half hour, use two different boards, or do the salad first.
Wash it immediately after raw meat, poultry or fish. Hot water, dish soap, and a brush rather than a sponge, since a brush gets into knife marks and a sponge mostly moves things around. Scrub both faces and the edges, rinse thoroughly, towel dry, stand it on edge. Wash your hands and the knife at the same time, and wipe down whatever the board was sitting on.
Sanitize when you want more than a wash. Two options, both cheap and both fine on wood:
Use one or the other, and do not mix them together in the same bottle. Either way, dry the board properly afterwards and re-oil it in the next day or so, because both treatments strip oil along with everything else.
Two things not to do.
Do not use bleach. It is unnecessary for a domestic board, it is harsh on the surface, and wood is porous enough that rinsing it back out properly is more trouble than the alternatives above are worth.
Do not soak it, in anything. Not in soapy water, not in a vinegar bath, not overnight. Soaking is the same mechanism as the dishwasher, just slower, and it is how boards cup and split. Everything above is a wipe or a scrub followed by drying.
When knife marks get deep, a board that is heavily scored on the prep face is harder to clean properly, because material collects in the cuts. That is the point to sand it back, which is covered below, rather than to scrub harder.
A dishwasher subjects a board to sustained heat and hours of standing water. Wood expands as it absorbs and contracts as it dries, and doing that fast and repeatedly splits the glue lines in a laminated board and checks the surface of a solid one. Bamboo is particularly exposed because the strips are bonded together: once the bond fails, the board comes apart in layers.
A single cycle does not always destroy a board. Repeated cycles reliably do, and plenty of boards do not survive the first one. Either way, nothing about it is reversible, which is the difference between this and every other mistake on the page.
This is the thing worth telling the recipient about when you hand the board over.
Use food-grade mineral oil. It is cheap, sold in any pharmacy and most supermarkets, and it never goes off. Board creams that combine mineral oil with beeswax work well too and leave a slightly more water-beading finish.
How to do it:
That is the whole job. It takes two minutes of attention and some waiting.
How often: every month or two for a board in normal use, and more often if it lives near a radiator, in a dry climate, or gets washed daily. Do not guess. The water test settles it: drop a little water on the surface. If it beads, the board is fed. If it soaks straight in and darkens the wood, it is thirsty. Dry wood also looks pale and feels slightly rough.
Do the same test on a new board before its first use, and give it a coat if the water soaks in. A dry surface takes up water and stains far more readily than a fed one, and two minutes at the start saves a lot later.
What not to use. Olive, vegetable, canola, sunflower and nut oils all belong in the pan and not on the board. They are not drying oils, so they sit in the wood and eventually turn, and the smell that comes with that soaks in and is stubborn. Sanding the surface back will usually clear it, which is a good deal of work to avoid by reaching for the right bottle.
Refined coconut oil is the one people argue about, and fairly. It is highly saturated and resists going rancid far better than the oils above, so lumping it in with them is not accurate. It is still not a drying oil, it sets solid at cool room temperature, and it does nothing mineral oil does not do more simply. There is no reason to choose it and no disaster if someone already has.
Oil does not "feed" the wood. It fills the spaces water would otherwise occupy, which is why an oiled board absorbs less, moves less and lasts longer.
The engraving is burned into the wood, not printed on it, so there is nothing to peel or wash off. Oil will not remove it. If anything, oiling darkens the surrounding wood and makes the burn stand out more.
What does wear it is a knife. Cutting directly on the engraved face will, over months, soften the edges of the letters.
Most people settle on the same arrangement without being told: the blank back is for prep, the engraved face is for serving and display. Both faces are food-safe, so this is about keeping the piece looking like a keepsake, and it happens to be the same arrangement that keeps raw and cooked apart.
| Symptom | What caused it | What to do |
|---|---|---|
| Colored stain: beetroot, turmeric, berries | Pigment absorbed into open grain | Coarse salt plus half a lemon. Scrub with the cut face, leave five minutes, rinse, dry, re-oil |
| Smell of garlic, onion or fish | Volatile compounds held in the surface | Same treatment, or baking soda in place of the salt. Re-oil afterwards |
| Surface feels rough after washing | Raised grain: water has lifted the fibers | Light sand with 220-grit along the grain, re-oil, wash more briefly next time |
| Knife marks on the prep face | Normal use | Nothing, unless they bother you or have got deep. Then sand with 220-grit along the grain and re-oil. Never sand the engraved face |
| Board looks pale, gray and dry | Oil has gone and not been replaced | Sand lightly, then oil repeatedly over several days. Full routine below |
| Board rocks or is dished | It dried unevenly, usually from being left lying down wet | Flatten it, below. Then dry it standing on edge from now on |
| Split along a glue line, or a crack through | Rapid, repeated swelling and shrinking. Usually a dishwasher, sometimes long soaking or a very hot dry spot | Not worth saving. This is the failure the rest of the page exists to prevent |
A board that rocks on the counter has dried unevenly. One face lost moisture faster than the other, shrank, and pulled the board into a dish. It is usually recoverable, and the fix is to reverse the imbalance rather than to force it.
Repeat once if it has improved but not finished. If two attempts do not straighten it, stop: a board that has been cupped for a long time may keep a slight dish, and a slight dish that does not rock under a knife is a cosmetic problem rather than a functional one.
Gray, dry, slightly fuzzy boards are recoverable more often than people expect.
Every month or two in normal use. The reliable test is water: drop a little on the surface, and if it beads the board is fine, if it soaks straight in it is thirsty. Boards in dry houses, near heating, or washed daily need it more often, and every couple of weeks is not excessive for a board that works hard.
No. This is the single thing that ruins wood boards. Sustained heat and hours of standing water make the wood expand and contract fast enough to split glue lines and check the surface, and none of it can be undone. Hand washing takes thirty seconds.
Wash it first, in hot soapy water with a brush, covering both faces and the edges, then rinse and towel dry. To sanitize, wipe it with white vinegar diluted about one part to four with water, or pour on a little 3% hydrogen peroxide and leave it a few minutes. Use one or the other, rinse, dry standing on edge, and re-oil in the next day or two.
No. Wood is porous, bleach is harsh on the surface and difficult to rinse back out properly, and it is unnecessary when hot soapy water followed by diluted vinegar or hydrogen peroxide does the job. Never soak a board in a sanitizing solution either. Soaking is the same damage as a dishwasher, only slower.
Ideally yes, and if you have one board, use the two faces as two boards: raw prep on the blank back, cooked and ready-to-eat food on the engraved face. Wash the board thoroughly between the two rather than wiping it, and never let raw juices sit on a surface you are about to serve from.
Food-grade mineral oil, or a board cream that combines mineral oil with beeswax. Avoid olive, vegetable, canola and nut oils, which are not drying oils and eventually turn in the wood. Refined coconut oil resists that far better than they do, but it sets solid when cool and offers nothing mineral oil does not.
Lay a damp towel on a level surface, put the board on it with the hollow face down, weight it evenly with something heavy, and leave it overnight. Then stand it on edge to dry out for a day or two and oil both faces. It works because the dry side takes up moisture while the wetter side gives it off, which reverses what cupped the board in the first place.
You can, since the whole surface is food-safe, but blade contact will wear the design over time. The usual arrangement is to prep on the blank back and use the engraved face for serving, which keeps the lettering crisp for decades.
Decades, with the care above. The failure modes are not wear. They are cupping from being left wet and splitting from a dishwasher. Avoid both and the board outlasts the kitchen it was given for.
If you are giving a board as a gift, a small card saying "hand wash, dry standing up, oil it sometimes" is worth including. Most people have never been told, and the two ways these boards die are both preventable in a sentence.
That matters more for some recipients than others. A board going to a grandmother or a mother is likely to be used weekly for decades, and four lines on a card is the difference between that happening and the board going through a dishwasher once.
Boards ship unoiled, so the first coat is yours to do and nobody expects otherwise. Give a new board a coat before its first real use. Which wood you choose changes how dramatic that first coat looks: acacia darkens noticeably and the grain jumps forward, bamboo changes less. Our bamboo vs acacia comparison covers the rest of that decision. If you are using the board to serve as well as to prep, charcuterie board versus cutting board covers keeping the two jobs apart. If you have not chosen a design yet, the shop has all three layouts in both woods.
First names, last name and an optional EST year in the most versatile layout on the site.
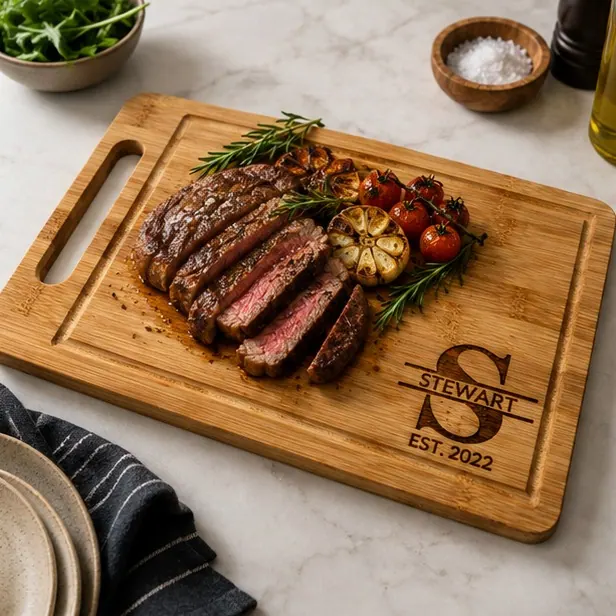
A timeless split layout with your initial, last name and optional EST year.
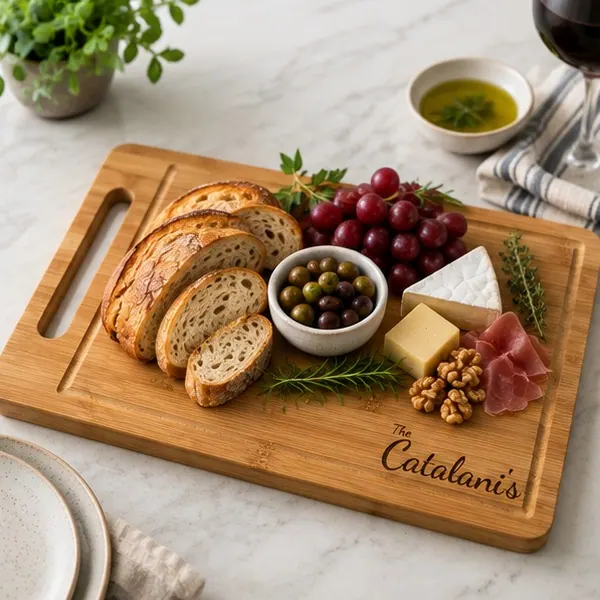
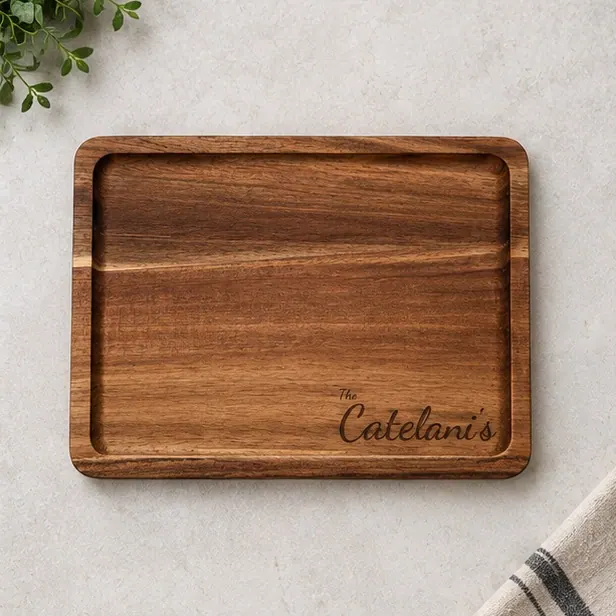
Soft script styling with an heirloom feel, especially strong for wedding gifting.
A butcher block is a thick end-grain or edge-grain surface that mostly stays put. A cutting board is a tool yo
Personalized means something gets made after you order, so it is not a same-day category. Here is the real tim
What to give parents who say they want nothing, how to split one gift between siblings, and what to engrave wh